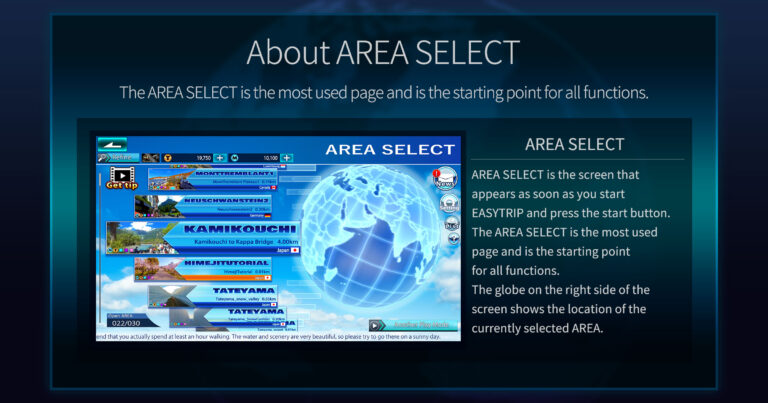
AREA SELECT is the screen that appears immediately after launching EASYTRIP and pressing the Start button. In AREA SELECT, you can choose the AREA to play, which is the main purpose, as well as transition to AnotherPlayMode, move to USER SETTING to make various settings, and access main features such as NEWS and HELP for playing with EASYTRIP.

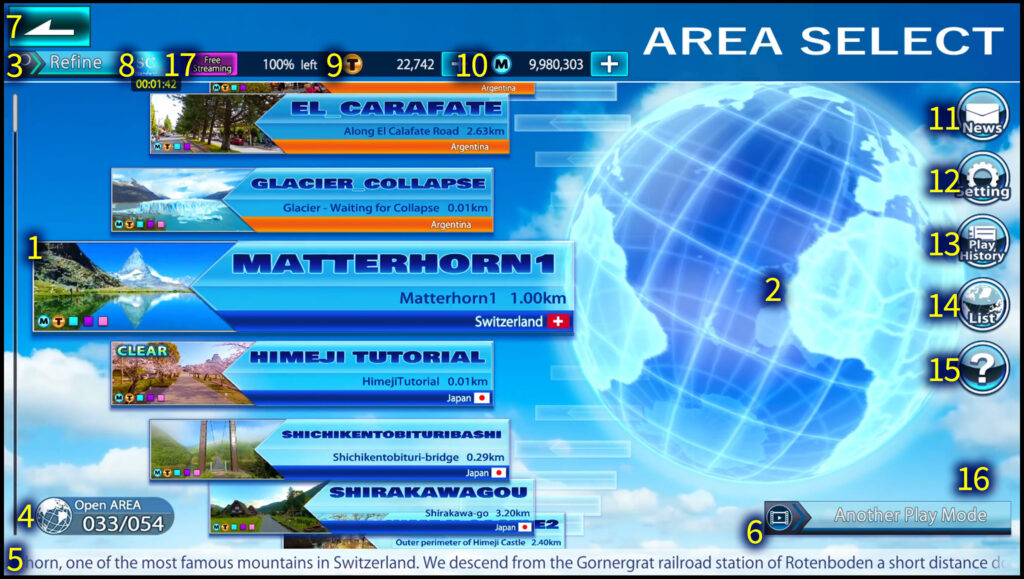
The explanations corresponding to the numbers in the displayed image are as follows:
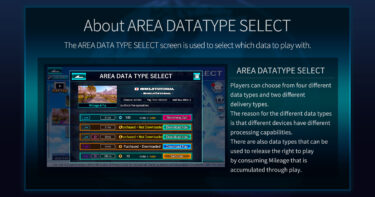
1. AREA SELECT (Button): The area for selecting the AREA to play. Generally, pressing within the enclosed range transitions to the next AREA DATA TYPE SELECT screen.

The details of the AREA SELECT button are as follows:
A :Name of AREA (Common Alphabetical Notation): The name of the AREA in a common alphabetical notation used across all languages. It is named to understand the overview of the area.
B: Name of AREA (Language-Specific Notation): The name of the AREA corresponding to language switching. It is often a bit more detailed than the common notation.
C: Country Information of AREA: The name of the country where the AREA’s video location is, along with its flag.
D: Image of AREA: An image cut from a single shot of the AREA. It displays an image of an impressive location within the video, which is easy to refer to when selecting an AREA.
E: Distance Information of AREA: A value close to the actual shooting distance at the time of filming the AREA.
F: Icons Indicating Types of Data Included in AREA: There are up to five types of icons representing the types of data for this AREA. The AREA data includes the types of data represented by the displayed icons. The meanings of the displays are as follows:
・〇+M = AREA that can be obtained by consuming Mileage
・〇+T = AREA that can be purchased with Tip
・□Light Blue = Low-resolution version of AREA data
・□Purple = High-resolution version of AREA data
・□Pink = 3D Stereoscope version of AREA data
2. Globe (Information): Indicates the location of the AREA that is currently selected in the AREA SELECT button. If there is no operation for a few seconds, it will slowly continue to rotate.
3.Refine (Button): A button that displays the Refine popup screen to narrow down the AREAs displayed on the screen. You can filter the AREAs you want to display by various criteria.
4. Open AREA (Information): The left side of “/” indicates the number of AREAs that are in an open state and can be selected. The right side shows the total number of AREAs that can currently be opened.
5. Information Display Bar (Information): Normally, the description set for the AREA that is selected is displayed. Information from the management or urgent contacts may be displayed here.
6. AnotherPlayMode (Button): A button to transition to the mode screen for playing EASYTRIP using videos created by yourself or other creators.
7. Return to Title (Button): Pressing this will take you back to the TITLE screen.
8. SupporterCard Type (Information): Displays the grade of the SupporterCard currently held by the user. For more details, please check “What is a SupporterCard.”
9. Tip Information (+ Button): Displays the current number of Tips owned. Pressing the + button on the right displays the Tip Information popup, where you can access more detailed information and the option to make additional purchases.
10. Mileage Information (+ Button): Displays the current amount of Mileage owned. Pressing the + button on the right will display the Exchange button. In Exchange, you can obtain past unclaimed Mileage with Tips.
11.News (Button): Opens a popup with announcements from the EASYTRIP management. The content displayed is from the official EASYTRIP website, so it does not support controller operations.
12. Setting (Button): Opens the USER SETTING popup where various settings can be made. The USER SETTING popup consists of four tabs: UserStatus, GameSetting, SNS, and Advertising.
13. Play History (Button): Displays the total play history for all videos played in this app.
14. List (Button): Opens the AREA STATUS LIST popup. Here you can check the acquisition, purchase, and download status of all AREAs. Deletion of downloaded AREAs is done on this screen.
15. ? (Button): Opens the Information popup. The Information popup has tabs for Help, FAQ, Credits, and TOS. Please check if you have any questions.
16: Announcement Cut-in: Displays a cut-in that notifies you of the status during communication or communication failure. It is usually not visible.
17: StreamingPlay Remaining Amount Display: Shows whether StreamingPlay is available or not. The behavior changes between subscribers and non-subscribers.
・Subscribers: While “No Ads Free Streaming” is displayed, no ads will be shown during Streaming Play. When the remaining amount reaches zero, it switches to Free Streaming.
・Non-Subscribers: “Free Streaming” is displayed, and when the remaining amount on the right reaches zero, Streaming Play will not be available for a while. The remaining amount is restored every hour. The remaining amount of Free Streaming is shared among all users.


